
You’ve done it! Perhaps you saw one on sale while doing your holiday shopping. Or, perhaps your Meemaw gave you one for making some of her secret, family recipe fried chicken. However it happened, you now own your very own cast iron cookware, be it a skillet, Dutch oven, griddle, or other equally wonderful item.
Cast iron is one the best vessels that can be used to prepare food, but many people shy away from using cast iron because they aren’t sure how to take care of it. They cringe at the idea of cleaning, storing, and seasoning cast iron or are just overwhelmed at the thought.
Fear not! There’s nothing to it. Follow these simple instructions and you’ll be loving your cast iron pan in no time.
Seasoning – What Is It and When to Do It
You may have heard the term “seasoning” when it comes to cast iron. But what does it really mean to “season” a pan? Does it involve spices? Elaborate rituals and recipes? Not at all. It’s really quite simple. Before you start using your new cast iron cookware, just follow these basic steps:
- Seasoning is simply fat baked onto the iron, giving it a natural, easy-release finish. The fat can be anything: vegetable oil, bacon grease, lard – any food-safe cooking oil or shortening will work for maintaining your cast iron cookware. Lodge Manufacturing, a prodigious manufacturer of cast iron cookware, seasons all of its products with soy vegetable oil and nothing else. If your cast iron cookware does not come pre-seasoned, then follow the instructions below for reseasoning.
- The best way to maintain the seasoning on your cast iron is simply to use it! Cooking in it regularly with any kind of cooking oil is a great way to keep your pan looking and performing well.
- If your pan becomes dull, splotchy, rough, sticky, or gets rust spots, it’s time to reseason.

Reseasoning
For whatever reason, you’ve decided it’s time to reseason your cast iron. Easy-peasy! Just follow these steps.
- Preheat the oven to 325°F.
- Place a layer of foil on the bottom rack of your oven and the pan on the top rack.
- Heat the pan for 10 minutes and remove it from the oven. We just want to make sure it is thoroughly dry.
- Using a cloth or paper towel, coat the pan inside and out with about 1 tablespoon of your favorite fat.
- Put the pan back in the oven, upside down on the top rack, positioned over the foil to catch any drips.
- Bake for 1 hour.
- Turn off the oven, and let the pan cool completely in the oven. Cast iron retains heat very well, so this will take a while. Leaving it overnight is a great way to go.
Extreme Reseasoning
So, the kids were using your wonderful pan to make mud cakes in the rain and now it looks like a rusted hunk of metal. Or maybe you found an old piece of cast iron at the flea market and want to return it to its former glory. Whatever the cause, in those extreme circumstances, the following should repair even the worst cases.
- Completely remove any residual seasoning on a cast-iron pan before reseasoning it. How? Think Easy-Off or the self-cleaning cycle of your oven. Follow the directions on the can or your oven manufacturer.
- Scrub the pan with hot, soapy water and a steel wool pad. Yes, we’re breaking all the normal rules here. We want to get as close to the bare metal as possible.
- Rinse and dry thoroughly.
- Follow the instructions for Reseasoning.
- Repeat the normal reseasoning process several times in a row – up to six times – to build up a sufficient layer on the metal.
Cleaning and Storing
- Make sure you clean the pan after every use. You don’t want to let food get encrusted on the surface or allow acidic foods – think tomatoes and vinegar – to react with the iron.
- Let the pan cool before you clean it. The last thing you want to do is burn yourself. As soon as it’s cool enough to handle, but still warm, grab a rag, get it wet with hot water, and wipe out the pan. Seriously, that’s all you should need. You don’t even need soap (though using normal dish soap isn’t an issue). Just water and a rag. And never, ever, ever, put cast iron in a dishwasher.
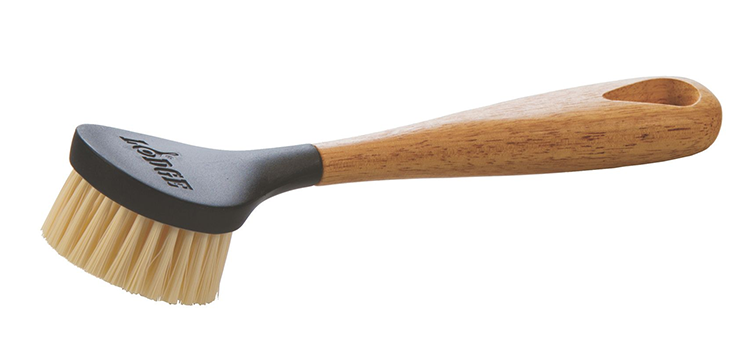
- If you happen to have some stuck-on bits, use a nylon pan scraper or nylon bristle scrub brush. Do not use scouring pads. For really sticky situations, simmer some water in the pan for a minute or so, then use the brush. You could even scrub it out using kosher salt.
- IMMEDIATELY hand dry. Water is your enemy when it comes to cast iron, so dry it as soon as you’ve cleaned it. Don’t set it down vowing to get to it in a couple of minutes. And don’t even think about air drying. Failure to dry it completely can result in rust.
- Rub with a very light layer of cooking oil. Grab another paper towel or rag, add a touch – like 1 teaspoon – of cooking oil to the pan, and use the rag to wipe it all around. Rub the oil around the skillet until the surface looks dark and shiny and has no remaining oil residue.
- Finally, store in a dry location. Remember, water is the enemy.
Additional Tips
- When new, most cast iron comes seasoned and ready to use. Just rinse and hand dry and start cooking.
- Use any utensils you like. Unlike non-stick pans, there is no special chemical surface to damage, so your favorite metal hamburger turner is perfectly fine to use in your cast iron skillet.
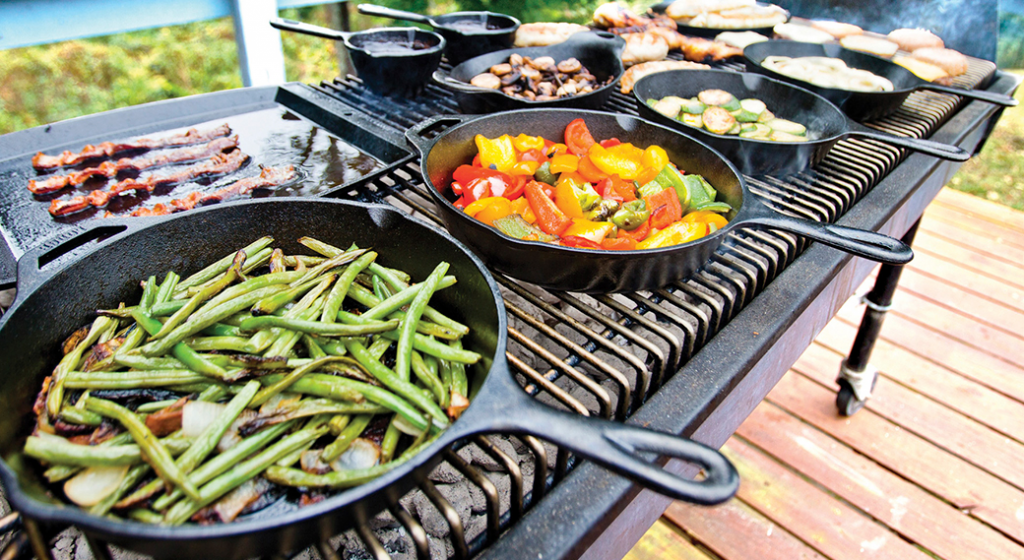
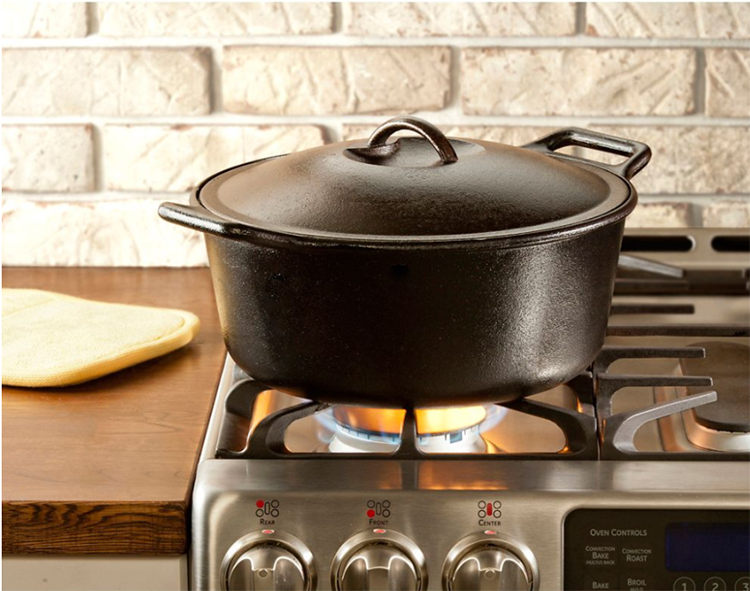
- Cast iron can be used on all stovetops, from induction to electric to gas to glasstop, and even on the grill. Heck, put it directly in the fire, if you like.
- Cast iron performs best when heated and cooled gradually, so give it a few minutes to pre-heat before adding your food.
- Cast iron retains heat very well, so using a lower heat setting can prevent food from sticking. And don’t forget to use an oven mitt or other protection like a handle cover (see image below) when grabbing the handle!
- The more unsaturated the oil, the more readily it will bond to the cast iron and develop an easy release surface. Flaxseed oil forms a particularly durable seasoning (make sure it’s 100% flaxseed – it will require refrigeration for storage – and food-grade). Cheaper oils such as sunflower and soybean are also highly unsaturated and work fine. But, ANY fat will do.

And there you have it. You know all the basics to prepare and care for your cast iron cookware. Go out there and give it a try and save a bite or two for us!

V. Excellent